Content
Homemade winemaking has always been considered a kind of special art, in the sacraments of which only a select or especially passionate lovers of alcoholic beverages can be initiated. Meanwhile, from the many fruits and berries that grow in abundance in every garden plot, you can always make delicious homemade wine on your own. And it will in no way be inferior in taste to many store drinks, and in usefulness it will surpass them many times.
Cherries can be found almost everywhere, and in fruitful years, many housewives puzzle over how best to process an unprecedented amount of berries. But making wine from cherries at home is much easier than even from traditional grapes.
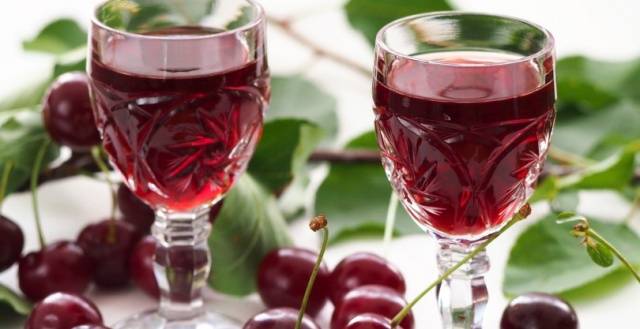
It is on cherries that experts recommend practicing for those who are starting to master the exciting process of winemaking for the first time. It makes a thick, dark red drink with a wonderful aroma and a wonderful rich taste. In addition, homemade cherry wine ferments and clarifies quite easily.
Simple classic recipe
Those who start making homemade wine for the first time need to know some secrets and nuances that will allow them to understand the process of making wine and get a delicious, aromatic and healthy drink.
Features of making homemade wine
Of course, to make homemade real wine, you need to be patient, because it is infused from several months to a year or more. Experienced winemakers know that the longer the wine is aged, the more the aroma and taste of the berries from which it is prepared is revealed in it.
Moreover, in real homemade wine, yeast additives are rarely used, so the benefits of this drink can hardly be overestimated. How can the fermentation process take place if only berries, water and sugar are used? The fact is that on the surface of freshly harvested berries, so-called natural wild yeast is always present in abundance, which allows fermentation to occur naturally.
It is also best not to pick cherries for winemaking after heavy pouring rains.
But the dust on the cherries shouldn't bother you. After all, wine perfectly self-clarifies during the production process.
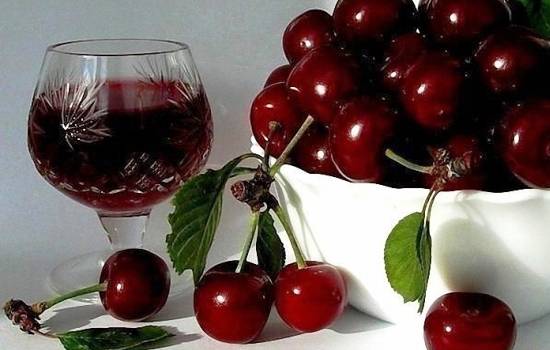
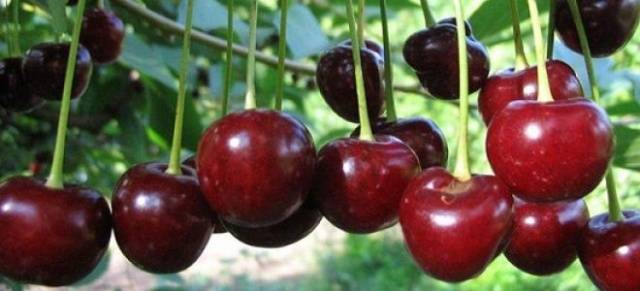
Almost any variety of cherries is suitable for homemade wine, although the most beautiful wine will be obtained from dark cherries. The berry must be fully ripe - overripe cherries will not make the wine so aromatic and tasty. And using unripe cherries, you run the risk of getting too sour drink.
The cherry wine making process has another peculiarity. Berries have relatively little sugar and a lot of acid, therefore, to get a real wine bouquet, a certain amount of water is always added to the berries and the sugar content is increased. In addition, the addition of water is necessary to soften the cherries, since, due to their relative density, it is rather difficult to squeeze the wort out of one berry pulp.
However, there are recipes for dry natural cherry wine at home, but the requirements for the quality of berries in this case should be the highest.
Wine from cherry berries with pits turns out to be slightly tart, with a slight aftertaste of bitter almonds. If you do not like this taste in wines, then the pits can be removed before using cherries on wine.
The main stages of manufacturing
Below is a fairly simple recipe for making cherry wine at home, although for beginners some of the points may seem daunting.
So, you need to prepare:
- 5-6 liters of pitted cherries;
- 10 liters of purified water;
- 3-4 kg of granulated sugar.
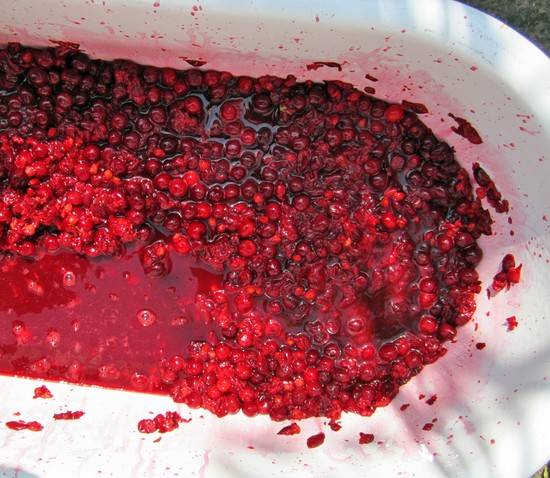
First of all, sort through the cherries, removing the twigs, leaves, and any damaged and softened berries.
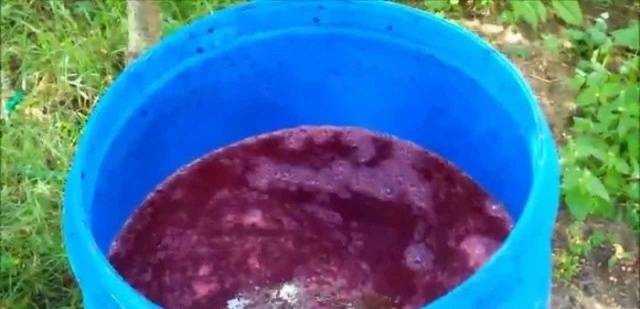
For fermentation, you can use any glassware, made of food grade plastic or enameled. A cover is required. Transfer the sorted cherries to a container of a suitable size with a wide enough neck so that a hand can easily pass through, for example, a bucket. Then gently mash the berries with your hands so as not to damage the seeds, otherwise bitterness may be present in the wine.
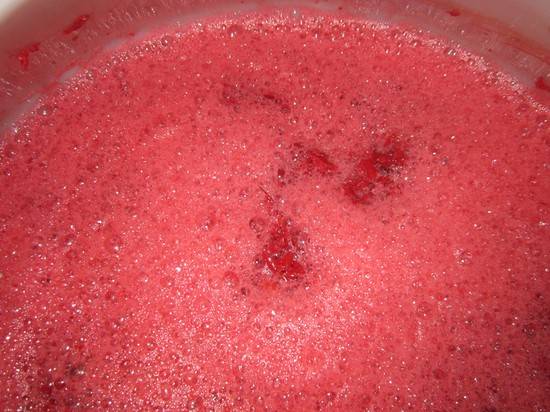
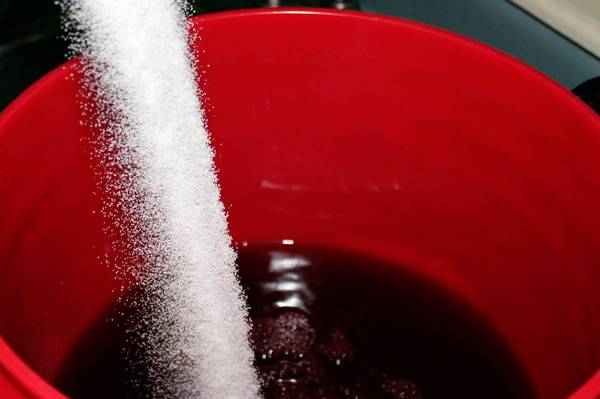
Now pour the berry mass with warm water, add the required amount of sugar according to the recipe and stir well with a clean wooden stick. Then cover with a lid and put in a dark place with a temperature of about + 20 ° + 22 ° C.
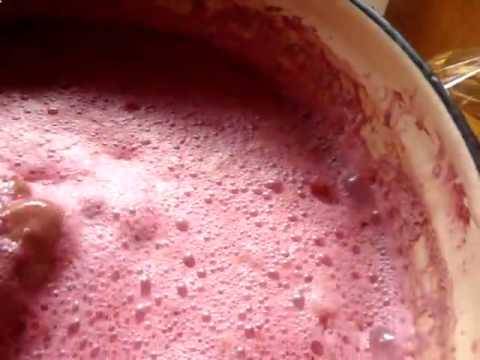
Vigorous fermentation begins the next day and from that moment on, it is necessary to open the container with cherries several times a day and mix the foam cap formed on the surface with the rest of the mass. These actions must be performed within 4-5 days. Then, for the same period, we leave the fermented liquid alone until the foam on the surface ceases to form.
This recipe does not use a water seal, this will be discussed a little lower, so at the next stage, carefully, without stirring, collect all the cherries in the upper part of the liquid with a colander and remove, lightly squeezing them with your hands.
When you open the lid for 5-7 days, you will see a small amount of foam on the surface, and all the pulp should sink to the bottom as a sediment. At this stage, it is necessary to drain the wine from the lees. Prepare another clean container and a long transparent hose for this procedure. Putting the container with the wort above, place one end of the hose inside, without bringing it to the bottom with sediment, and from the other end, using the method of communicating vessels, suck in air until wine flows out of it. Then the end of the hose is immediately placed in a clean container.
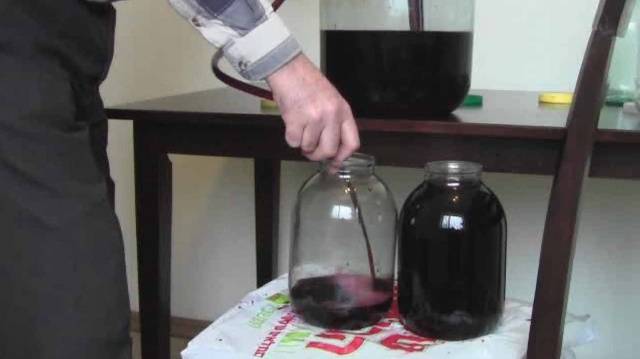
Drain, thus all the wine liquid, pour out the remaining thick. And close the drained wine with a lid again and transfer it to a dark and cool room with a temperature of about + 10 ° + 12 ° C.
After 10-12 days, the wine must again be drained from the sediment, but already filtered through a sieve or cheesecloth into glass bottles. It is worth closing the bottles with loose lids, as the fermentation process may continue. While it is still going on, that is, foam with sediment appears, every 10-12 days it is necessary to pour the wine through a sieve into a clean bowl.
After the fermentation process stops, when bubbles stop forming, the bottles can be sealed with airtight lids and stored in a cellar or refrigerator.
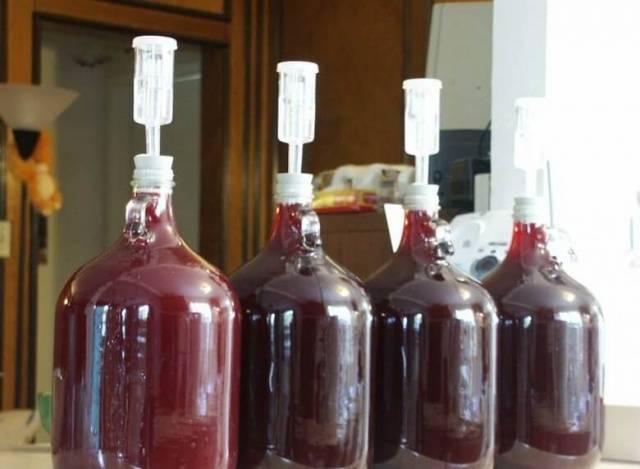
Recipe using a water seal
Traditionally, a water seal is used to make homemade wine.What is it, what is it for, and how to make it yourself? It is known that during the fermentation process, a large amount of carbon dioxide and alcohol is released. And when oxygen enters, the activity of microorganisms is activated, which convert wine alcohol into acetic acid. But if the fermentation tank is tightly closed, thus protecting it from the ingress of oxygen, then, due to the large amount of carbon dioxide released, the pressure inside the tank may rise so much that the walls of the tank will not withstand it.
Therefore, a water seal is often used - which is a kind of valve that allows you to remove carbon dioxide, but at the same time prevents oxygen from entering the fermentation tank.
In the recipe described above, a water seal was dispensed with, since during the period of increased fermentation a layer of carbon dioxide forms between the wort and the lid, which plays the role of a cork that prevents oxygen from penetrating inside.
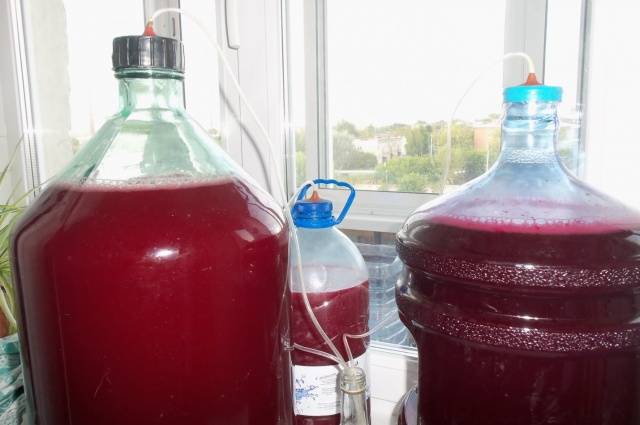
In its most traditional form, it is enough to use a lid with a hole in it for a small transparent tube, which is fixed hermetically so that its end does not touch the wort. The other end is dipped from the outside into a glass of water. When carbon dioxide escapes, many bubbles appear in the water. But the cessation of fermentation can be accurately determined by the calmness of the surface of the water in the glass.
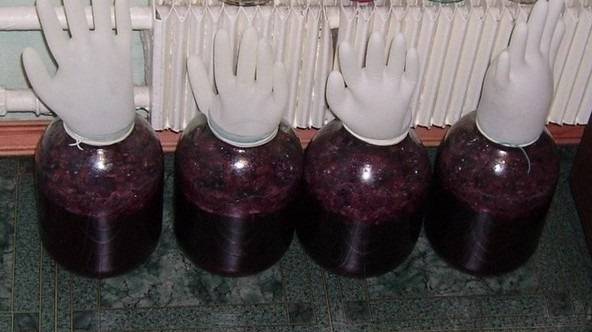
Another common method is to use an ordinary surgical glove, which is put on a container of wort and do not forget to additionally secure it with tape or an elastic band. A hole is punctured in one of the fingers to let the gases escape. With the beginning of the fermentation process, the glove is strongly inflated, and at the end of the process it deflates. This serves as a signal that the wine can be poured into separate containers.
In general, all actions when using a water seal or gloves are exactly the same as in the recipe described above. But when the first 5 days of vigorous fermentation expire, the cherry wort is filtered, the pulp is squeezed out and at this moment a water seal is placed. The only difference, perhaps, is that when using a water seal, the sugar is not added all at once, but it is broken into portions. At the first moment, add about 1/3 of the total amount prescribed in the recipe. At the time of squeezing out the cherry pulp, another 1/3 of the sugar is added. The remaining sugar is added after another 5 days, and during this time the wort should ferment at a temperature of about + 20 ° C.
In the future, the wine is left to ferment with a water seal for about 1-2 months. When a large layer of sediment accumulates, the cherry wine is filtered and poured into a clean bowl, as in the previous recipe.
Dry homemade cherry wine
One of the most delicious and easy to prepare recipes for homemade cherry wine, even without adding water.
For its manufacture, use a bucket of fresh cherries with seeds (10 liters) and 4 kg of granulated sugar.
Cherry berries are sprinkled with sugar, placed in a specially prepared container and placed in a sunny place for fermentation for a month and a half. It is advisable to cover the neck with gauze with an elastic band from insects.
After this period, the liquid is filtered into another container through cheesecloth, and the cherries are ground on a sieve and the berry pulp is also added to the wort. The wort is kept in the sun for another 4-5 days and filtered again through cheesecloth.
The whole process of making cherries at home with a water seal is clearly shown in the video:
The resulting cherry drink is aged in the usual place at a temperature of about 20 ° C for another two weeks until the end of fermentation.From this moment on, dry wine can already be placed on the table.
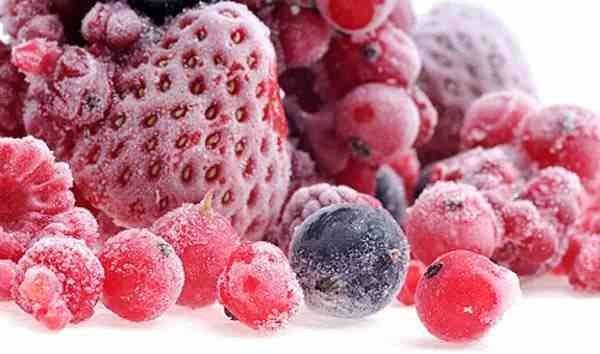
Frozen berry wine
With a large harvest of cherries, it has become fashionable to freeze berries for the winter. Indeed, after defrosting, cherries are quite suitable for compote, jam and even for making wine. After all, wine made from frozen cherries at home is practically no different from wine made from fresh cherries.
Well, for fans of everything natural, a recipe is offered according to which dried raisins are used as yeast at home.
What do you need:
- Frozen cherries - 5 kg;
- Purified water - 3 l;
- Sugar - 1.5 kg;
- Raisins - 100 grams.
To begin with, cherries must be allowed to completely thaw at room temperature. Then transfer them to an enamel or plastic container, knead well, add water, sugar and raisins. Mix everything thoroughly, cover and place in a warm place for 8-10 days. During vigorous fermentation, which will take place all this time, stir the contents of the container every day. Then strain the wine into a clean container and put a water seal for quiet fermentation.

After about 1.5 months, strain the wine again, bottle it and place it in a dark, cool room for maturation.
As you can see, there is nothing complicated in the process of making wine from cherries. Perhaps the most important thing is the patience that will be needed to wait for the result - tasty and healthy homemade wine, which is not a shame to treat guests during any celebration.


what does 5-6 liters of cherries with pits mean? whole or already frayed? because this is a big difference, it's easier to write in kilograms